evm wallet
What Is an Ethereum Virtual Machine (EVM) Wallet?
An Ethereum Virtual Machine (EVM) wallet is a tool that enables you to manage accounts, sign transactions, and initiate on-chain actions across multiple EVM-compatible networks—all with a single set of keys. Think of it as a “multi-port power strip” that lets you seamlessly switch between Ethereum and similar blockchains.
The Ethereum Virtual Machine (EVM) acts as a universal engine, allowing smart contracts to run under the same rules across different chains. As long as a blockchain adopts the EVM standard, your EVM wallet can send and receive assets, connect to decentralized applications (DApps), and interact with the network—without needing a new address format.
How Does an EVM Wallet Work?
The foundation of an EVM wallet is its private key. This private key serves as a unique master key; whoever holds it controls the funds. The wallet address is derived from the private key and is used for receiving payments and identifying the account. A mnemonic phrase is a human-readable backup for your private key—essentially, a paper version of your master key.
Every transaction on an EVM network requires payment of gas fees. Gas can be thought of as a “network processing fee,” compensating network participants who bundle transactions. Each chain uses its own native token for gas payments—so on any EVM chain, you’ll need that chain’s native currency.
EVM wallets switch between networks using Chain IDs and RPC endpoints. The Chain ID acts as a network identifier, preventing transactions from being sent to the wrong chain. RPC endpoints are like gateways that connect your wallet to blockchain nodes.
When you click “Confirm,” the wallet uses your private key to sign transactions or messages. The network verifies this signature before executing any action. There are two types of signatures: “message signatures” (which prove identity without moving funds) and “transaction signatures” (which can authorize transfers or permissions).
What Can You Do With an EVM Wallet?
An EVM wallet enables you to send and receive tokens, participate in DeFi activities such as swaps and lending, mint and transfer NFTs, log into blockchain games and social apps, and manage multi-chain assets and permissions.
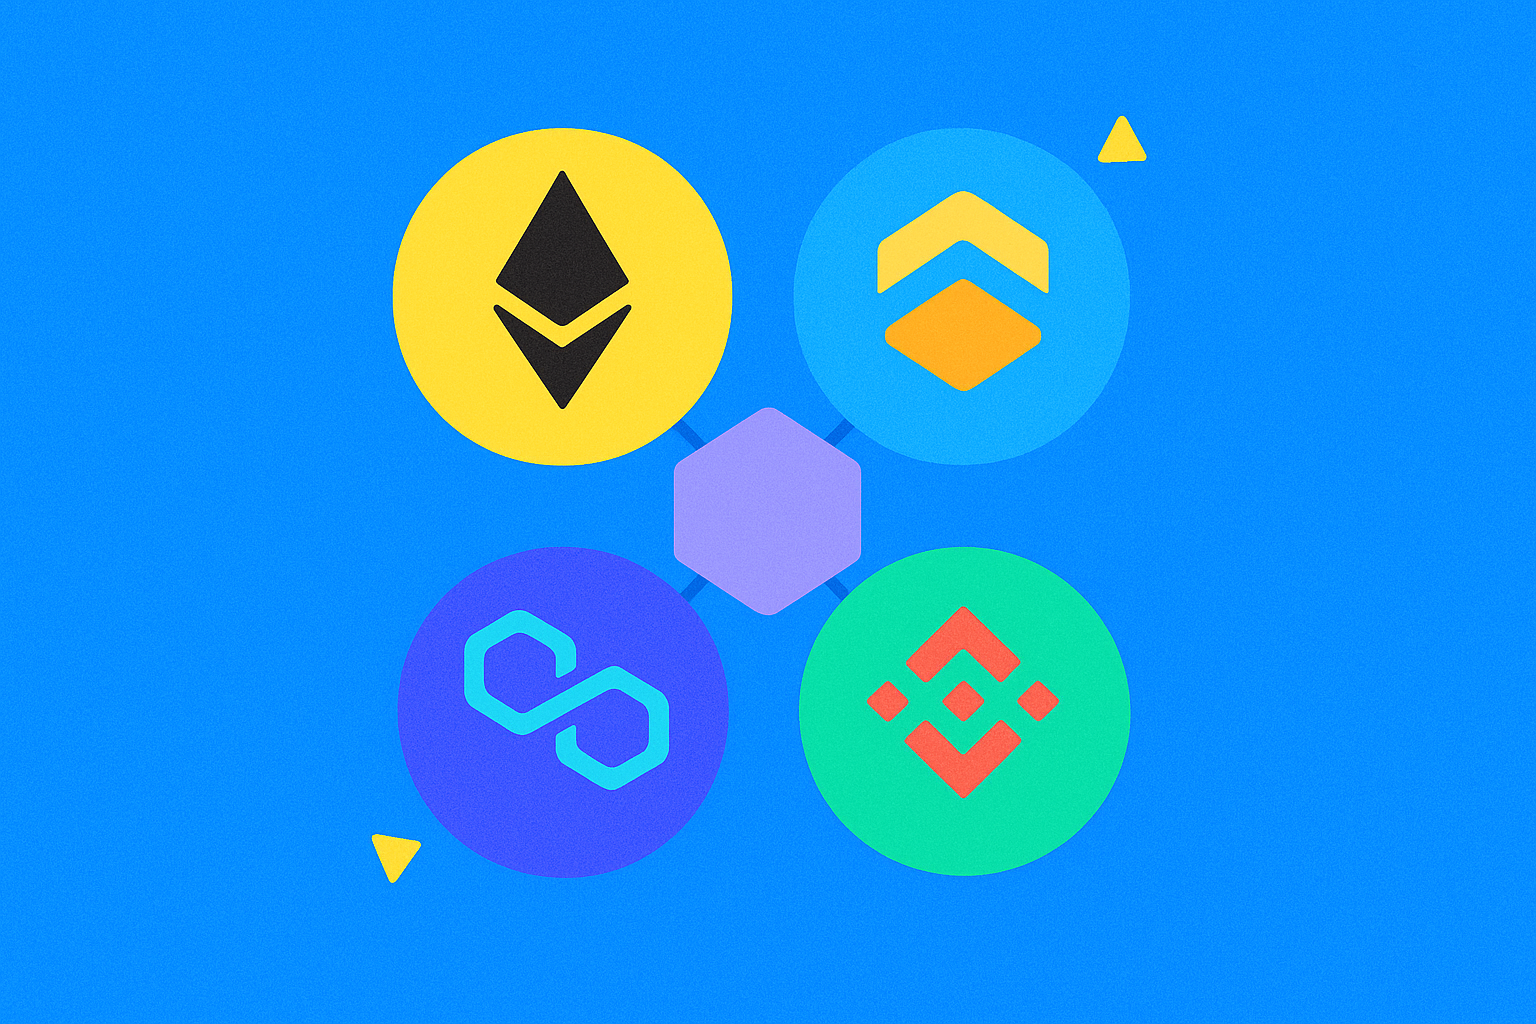
In terms of multi-chain usage, EVM wallets support Ethereum mainnet, layer-2 networks like Arbitrum, Optimism, Base, and other compatible chains. When switching chains, your wallet address stays the same, but the gas token and available DApps change according to the selected network.
For asset management, you can view token balances across networks, track NFT holdings, review transaction history, export payment QR codes, and set up frequent contacts for easy transfers. If you’re interested in airdrops or interactive tasks, an EVM wallet is nearly indispensable.
How to Get Started With an EVM Wallet?
Step 1: Install and Create. Choose a reputable wallet app (browser extension or mobile app). Create your wallet in an offline environment and generate your mnemonic phrase. Treat your mnemonic as full ownership—never screenshot or upload it online.
Step 2: Secure Backup. Handwrite two copies of your mnemonic on water- and fire-resistant material, storing them in separate secure locations. Set a strong password, enable biometric authentication, and activate anti-phishing alerts.
Step 3: Add Networks. In your wallet’s network settings, add the desired EVM chains. Verify the Chain ID and RPC source are official—never use custom nodes provided by strangers.
Step 4: Prepare Gas. Withdraw a small amount of the chain’s native token from Gate to your wallet address to pay future transaction fees. Test with a small deposit first; once confirmed, transfer larger amounts.
Step 5: Test With Small Transactions. Try a small transfer or swap to familiarize yourself with signing, fee calculation, and checking transaction status before increasing transaction size.
How Do You Connect an EVM Wallet to DApps?
Connecting an EVM wallet to a DApp typically involves three stages: “Connect Account,” “Authorize Permissions,” and “Execute Transactions.” Connection only reveals your address; authorization determines which tokens the app can access; execution actually moves assets.
Step 1: Open the Entry Point. On the DApp’s official website, click “Connect Wallet” and select either browser injection or WalletConnect. Confirm that the domain name and requested network match your expectations.
Step 2: Review Authorizations. When interacting with tokens, DApps may request “spending allowances.” It’s best to authorize only the minimum required amount for each session to avoid unlimited approvals; note that authorization itself requires gas fees.
Step 3: Confirm Transactions. Double-check the recipient address, token type, amount, and gas limits before signing and submitting. After submitting, you can track progress using the block explorer and transaction hash.
Gate’s Web3 dashboard aggregates popular EVM DApps for easy search and connection while offering tools to review basic authorizations—helping new users avoid fake sites.
How Is an EVM Wallet Different From Non-EVM Wallets?
EVM wallets are designed for chains that follow EVM rules, with consistent address formats, signatures, and contract interaction methods across multiple networks. Non-EVM wallets (such as those for Bitcoin or some standalone blockchains) use different accounting models, address formats, fee systems, and DApp interfaces.
In terms of accounting: EVM networks work like “bank account balances,” simply deducting from your total; Bitcoin uses a “cash change” model, combining inputs and outputs to complete payments—resulting in different transaction construction and fee estimation methods.
For application ecosystems: EVM wallets grant access to a broad range of Ethereum-based DeFi and NFT apps; non-EVM wallets require dedicated tools for their respective chains. On some non-EVM networks, signature algorithms, message formats, and authorization mechanisms differ from EVM standards—making direct interoperability impossible.
What Are the Risks and Best Practices for EVM Wallet Security?
Major risks include mnemonic leaks, phishing sites, malicious authorizations, fake RPC endpoints, and fraudulent airdrop links. Anyone with access to your mnemonic or private key can drain your funds instantly.
Best Practice #1: Store Mnemonics Offline Only. Never keep them in photo albums, cloud drives, or messaging apps; avoid importing wallets on untrusted devices.
Best Practice #2: Verify Sites Before Connecting. Manually enter domain names or use trusted sources like Gate to access apps; check for typos and certificates; never click on short links from social media.
Best Practice #3: Limit Authorization Amounts. Only approve necessary allowances—not unlimited amounts—and regularly review or revoke unused permissions via your wallet or trusted tools.
Best Practice #4: Tiered Asset Management. Keep small amounts in hot wallets for daily use; store high-value assets in hardware wallets or with multi-signature setups. Always test with small transfers before cross-chain operations to confirm correct bridges and destination chains.
Best Practice #5: Keep Software Updated & Backed Up. Maintain up-to-date wallet apps and browsers; verify sources of backup files and firmware to prevent tampering.
What Are the Trends in EVM Wallet Development?
As of 2025, the EVM ecosystem spans major Ethereum layer-2s and multiple compatible chains—with millions of active users (based on public blockchain explorer statistics). EVM wallets are evolving toward greater usability, improved security, and expanded multi-chain support.
Account abstraction is transforming EVM wallets from “key-based wallets” into “smart wallets.” This enables social recovery instead of relying solely on mnemonics, allows third-party sponsorship or flexible token payments for gas fees, supports batch operations and session permissions—all lowering barriers for newcomers.
Multi-chain experiences are improving too: automatic chain ID detection, integrated cross-chain swaps & quotes, unified asset & authorization management in one interface. For compliance and risk control, more wallets now feature built-in risk domain blocking, contract risk alerts, and permission scanners—helping users spot high-risk requests before acting.
Overall, EVM wallets will remain the universal gateway into Web3. For beginners, following basic principles like “using trusted entry points,” “minimal authorization,” “tiered custody,” and “testing with small amounts” can help enjoy multi-chain convenience while greatly reducing financial risk.
FAQ
Which blockchain networks are supported by EVM wallets?
EVM wallets support all blockchains compatible with the Ethereum Virtual Machine—including Ethereum, Polygon, Arbitrum, Optimism, and more. While these networks operate independently, they use the same smart contract standards and account systems—so one EVM wallet address works across them all. Simply switch networks within your wallet to manage assets on different chains.
What is the difference between importing a private key and creating a new wallet?
Creating a new wallet generates an entirely new private/public key pair—a fresh account. Importing a private key means entering an existing key into your wallet to recover previous assets. New users should create a new wallet and securely back up their mnemonic rather than importing keys from others or unknown sources—to avoid asset risks.
Will connecting my wallet to a DApp leak my private key?
No. Connecting your wallet to a DApp only authorizes specific actions; DApps can never access your private key. Your key always remains stored locally in your wallet—connections simply allow DApps to request signatures for transaction confirmations. However: never connect your wallet on unfamiliar websites or grant permissions carelessly to prevent malicious asset transfers.
Why do transactions require Gas fees?
Gas fees are the cost of processing transactions on EVM chains—they incentivize miners/validators to execute your actions. Each transaction uses network resources for computation and verification; gas fees compensate providers for these resources. Fees rise when networks are congested—try transacting during off-peak hours (like late night) to save costs.
Can I manage assets across multiple EVM chains with one wallet?
Absolutely. Popular wallets like MetaMask or Gate support multi-chain management—the same wallet address is valid across all EVM chains you add. Simply switch networks within the app to view or transact assets on each chain—no need for multiple wallets. This greatly streamlines asset management processes.
Related Articles
The Future of Cross-Chain Bridges: Full-Chain Interoperability Becomes Inevitable, Liquidity Bridges Will Decline
Solana Need L2s And Appchains?